Remember in elementary school when you decorated shoe boxes to create pseudo-mailboxes for your Valentines? Just because you’re older doesn’t mean you can’t still shower those around you with sweetheart candies, chocolate and words of love. The cards at CVS, Hallmark and Paper Source are not only overpriced, limiting how many valentines you can have, but also have lame, unoriginal designs and cookie-cutter pre-written messages. The solution? Make your own cards. Here is a guideline of how to make crafty Valentine’s Day cards your friends will cherish and you’ll even enjoy making.
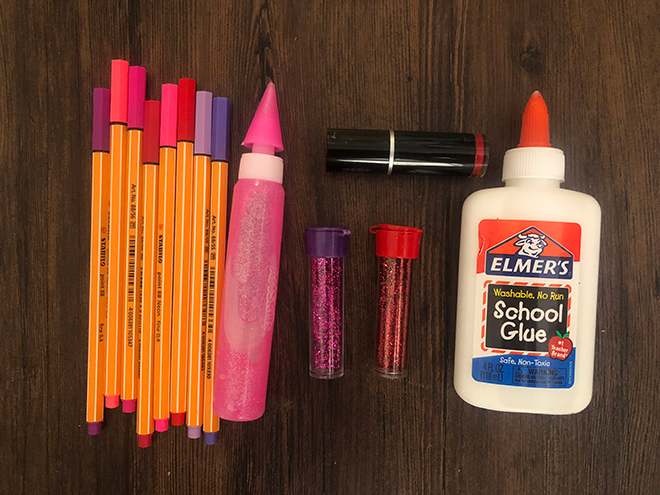
Supplies:
- Paper and scissors
- Pink, red and purple pens/markers
- Glue
- Pink, red and purple glitter
- Red lipstick
Steps:
1. Cut the paper into whatever size you want. I personally like to stack some papers together to cut more than one at a time. I also love to make different sizes each round so that each card is unique. Depending on if you are mailing them or just handing them out, make sure to pick a size not too big but not so small that your message won’t fit.
2. Apply your red lipstick. You will actually be kissing the paper to create an authentic Valentine’s Day look. Because the lipstick color fades easily, you may have to reapply.
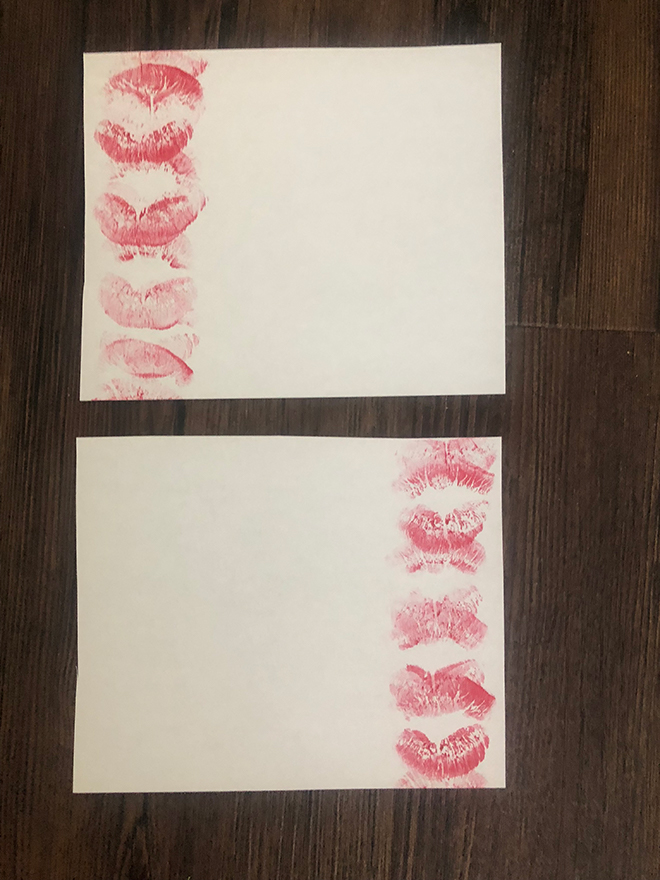
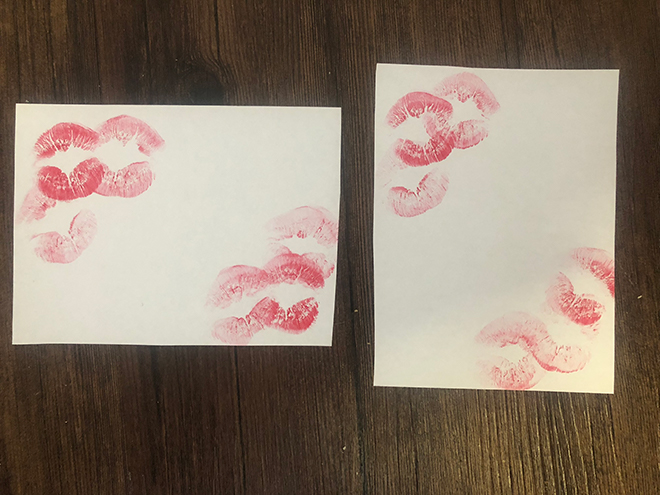
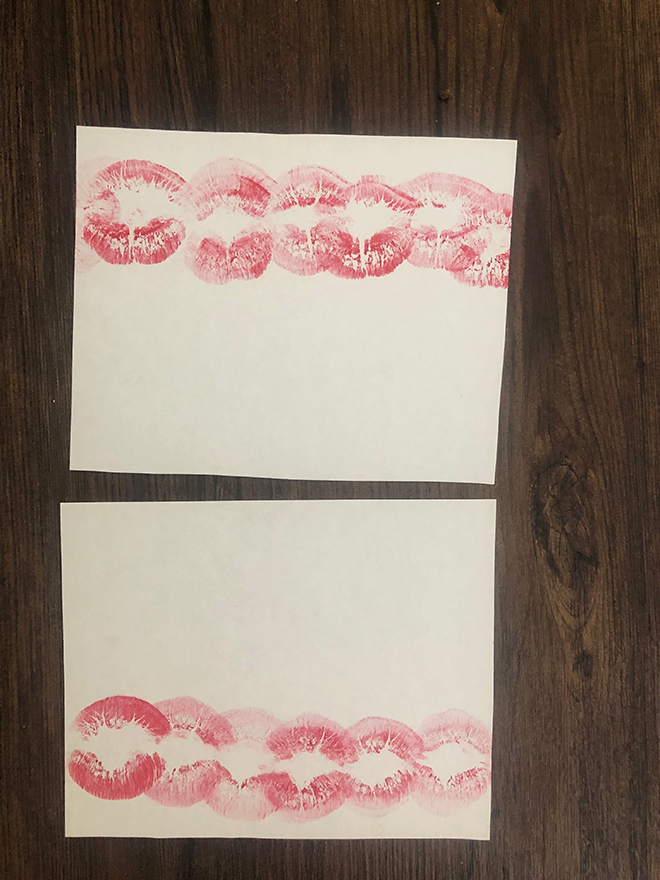
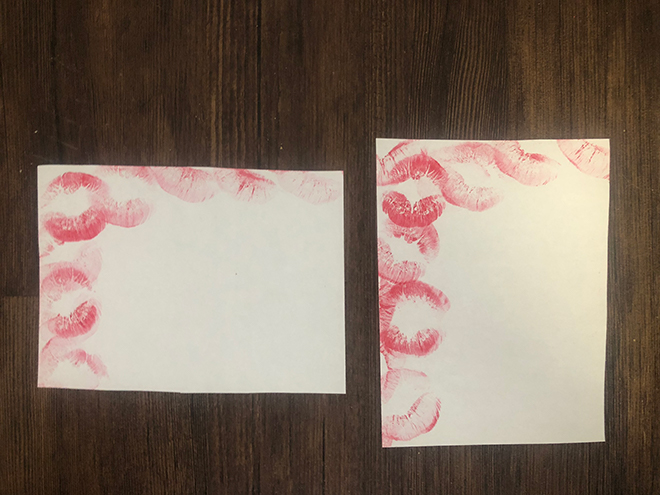
3. There are many different ways to kiss the paper.
The side:
The corners:
The banner:
The side and corner:
4. Now, it’s time to accessorize with Valentine’s day phrases and glitter. I love the look of lines to give the card a border, so I suggest using your glue and glitter to give this effect. Additionally, you can use cute Valentine’s Day phrases to create the border and accent the lips. Some good phrases are: xoxo, ILY, be mine, smooches, mwah, lah lah love, love you and valentine (or galentine).
IMPORTANT: when you use the glitter, make sure to designate a paper, paper towel or newspaper underneath to catch the excess glitter. Have a different one for each color so that afterwards, you can funnel the paper and put the glitter back in its bottle to reuse.
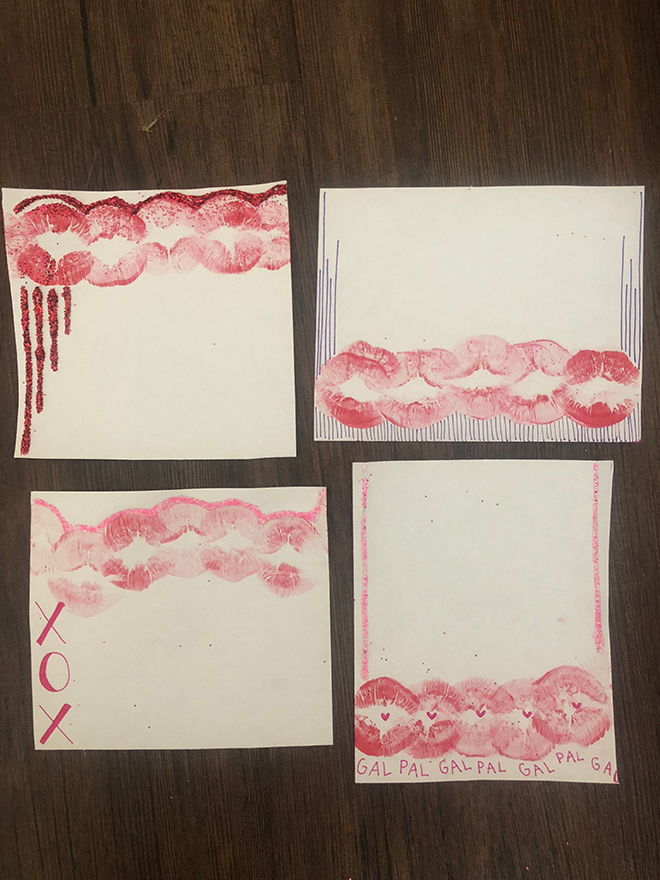
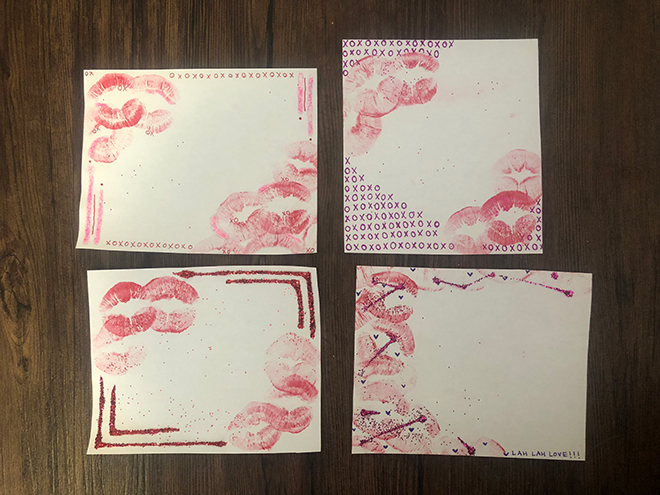
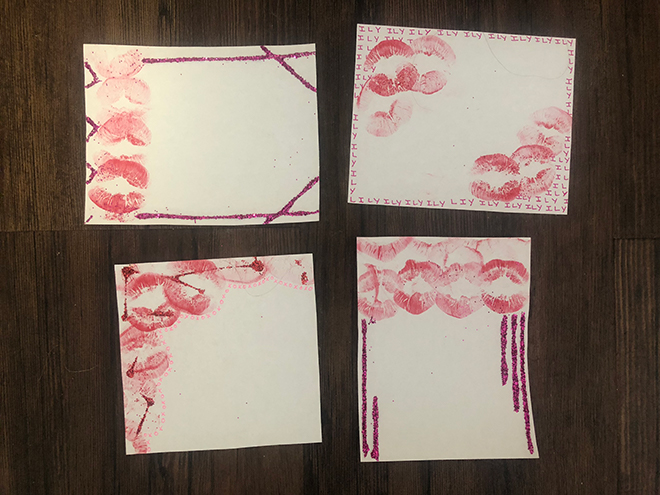
5. Even if I’ve done major glitter and glue work on a card, I always love to sprinkle some extra glitter over the lips to give it a flare. You won’t need any glue for this because a few pieces will stick naturally.
6. Fill out your card. This is my favorite part, writing the note. It brings the card to life and makes it special. Take the time to write an individualized note – it will mean so much to the recipient.
7. If you are sending your card in the mail, write SWAK (Sealed with a kiss) on the side where the recipient opens the letter. Make sure to fill the envelope with the extra glitter to add to the experience.
Get some friends together in a lounge in your dorm or the living room of your apartment, put down some newspaper and start kissing (the paper, of course). Valentine’s Day is not all about couples, so take your Valentine’s Day to share the reason you love your close friends and family. And don’t forget to treat yourself with some chocolate, roses and other gifts of your choosing that day, because it’s important to love yourself, too.